
How to Create an Amazon Seller Account?
To create an Amazon seller account, visit sell.amazon.com, click “Sign Up,” and follow the prompts. You’ll choose a selling plan, enter your personal and business information, and verify your identity.
In this guide, we’ll walk you through each step in detail so you know exactly what to expect and how to get approved quickly. Let’s get started.
Key Takeaways:
- You Need the Right Info Ready
Have your business type, ID, bank details, and tax info on hand. Amazon requires these to verify your identity and activate your account. - Pick the Right Selling Plan First
Choose between the Individual plan (pay-per-sale) and the Professional plan (monthly fee) based on how many items you plan to sell—this choice affects your fees and features. - Your Application Must Match Your Documents
The name, address, and ID you provide must be accurate and consistent. Any mismatch can delay or block your approval.
1. Gather Everything You Need

Before you start creating your Amazon seller account, make sure you have all the required information and documents ready. This will help you move through the registration process quickly and avoid delays.
Here’s what you’ll need:
✅ Personal Information
- A valid email address (Amazon will send updates here)
- A working mobile phone number (for account verification)
✅ Identity Verification
- A government-issued ID
- Accepted: passport or driver’s license
- Must be current and not expired
✅ Tax Information
- For individual sellers:
- Social Security Number (SSN)
- For businesses:
- Employer Identification Number (EIN) or Tax Identification Number (TIN)
✅ Bank & Payment Info
- Bank account details (account and routing number) — for Amazon payouts
- Credit or debit card — to cover seller fees and charges
✅ Business Details (for business accounts)
- Business name and type (LLC, sole proprietor, etc.)
- Business address
- Business registration documents
If you’re registering as an individual, you’ll still need to provide your home address.
2. Choose the Right Selling Plan
Amazon gives you two options for selling: Individual and Professional. You'll need to choose one during account setup. The best plan depends on how many items you plan to sell each month.
🔍 Plan Comparison Table
| Feature | Individual Plan | Professional Plan |
|---|---|---|
| Monthly fee | $0 | $39.99 |
| Per-item fee | $0.99 | $0 |
| Best for | < 40 items/month | > 40 items/month |
| Advanced tools | No | Yes |
| Restricted categories | No access | Can apply |
🛍️ Which Plan Should You Choose?
- Choose Individual if you're a casual or beginner seller. It's cheaper if you sell fewer than 40 items a month.
- Choose Professional if you sell more than 40 items, want access to advanced selling tools, or need to apply for restricted categories.
- Professional sellers can also join Amazon Brand Registry, which helps protect your brand and trademarks.
💡 The break-even point is 40 items/month. That’s when the fees for both plans cost the same.
You can start with the Individual plan and upgrade later anytime from your Seller Central dashboard.
👉 Here is a more detailed guide talking about Amazon Selling Plan.
3. Visit Amazon Seller Central
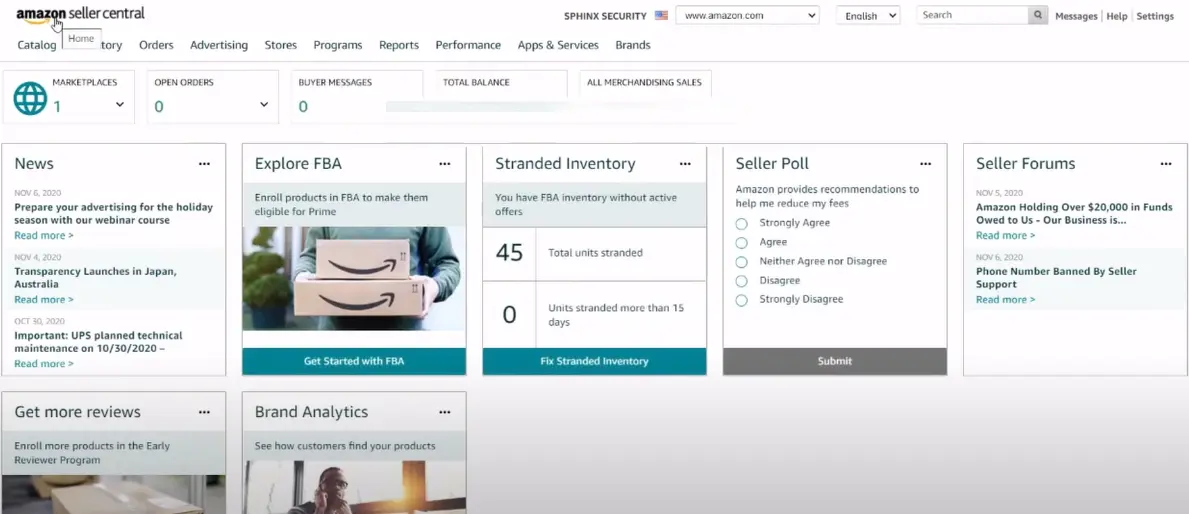
To start your registration, go to sell.amazon.com in your web browser. This is the official homepage for Amazon sellers.
On the page, you’ll see info about selling and fees. Click the "Sign Up" button to begin creating your account.
🧭 Choose How to Set Up Your Account
You’ll now decide how to log in or create your seller account:
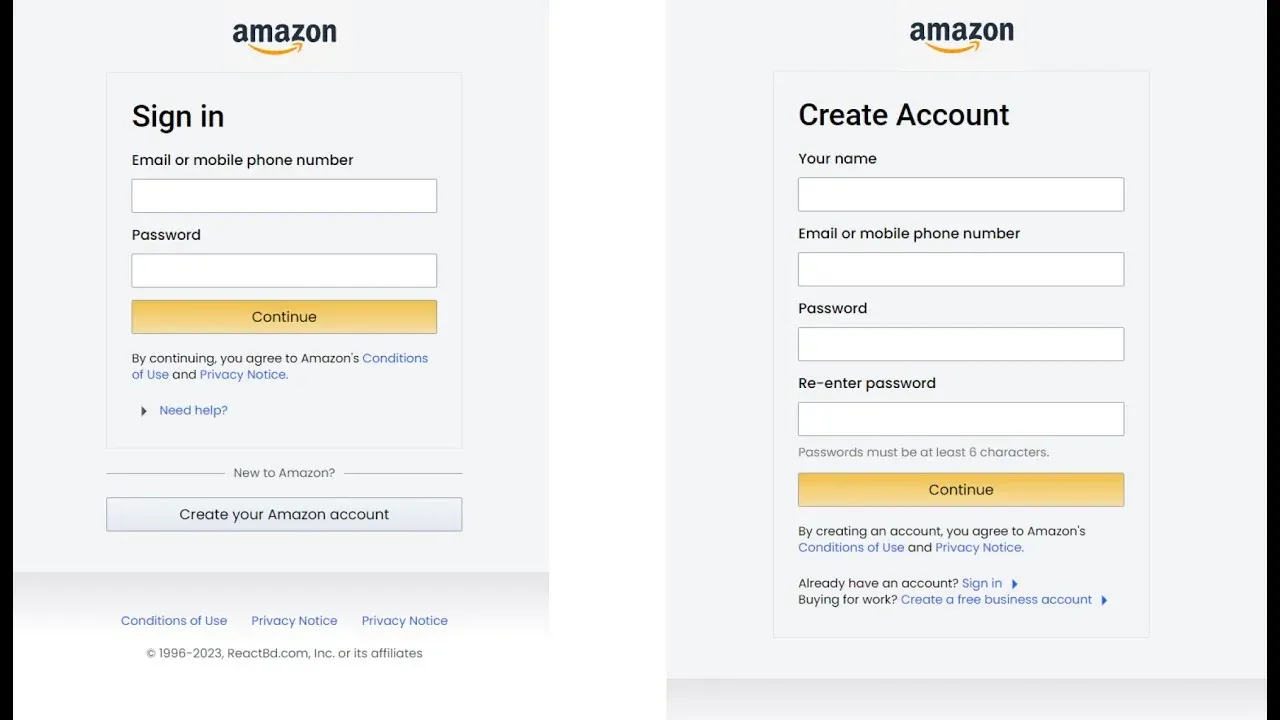
🔹 Option 1: Use Your Existing Amazon Account
If you already shop on Amazon, you can sign in with your current email and password.
This connects your seller account to your customer account.
🔹 Option 2: Create a New Amazon Account
Start fresh with a new email and password.
This keeps your personal shopping separate from your business activities — most sellers prefer this option.
💡 Already use Amazon tools like Brand Registry, Ads, or Vendor Central? Use the same login to link all tools under one account.
Once you choose, click "Create your Amazon account" to continue.
4. Create Your Amazon Account
The first part of becoming an Amazon seller is setting up your basic Amazon account. This step is quick and only takes a few minutes.
📝 Fill Out Your Info
Enter the following on the account creation page:
- First name
- Last name
- Email address
- Password (make it strong and secure)
Click “Create your Amazon account” to continue.
✅ Verify Your Email
Amazon will send a verification code to the email you provided.
- Check your inbox (and spam folder, just in case)
- Enter the code on the Amazon page
This step confirms your email is working — and it’s required before you can move forward.
Once verified, your basic Amazon account is active. You’ll use this login for the rest of the seller registration process and to access Seller Central in the future.
⚠️ You can’t finish setting up your seller account until your email is verified.
5. Enter Business and Personal Info
Amazon needs to verify your identity and business details before you can start selling. This step ensures you're set up to receive payments and comply with tax laws.
🏷️ Select Your Business Type
Choose the option that matches your situation:
- Individual – You're selling as yourself, not a registered business
- Privately-owned business – Most small businesses fall here
- Publicly-owned business – For corporations with shareholders
- State-owned business – Government-owned entities
- Charity – Registered non-profits
💡 Don’t have a business yet? Select Individual — you can update this later.
📍 Add Your Business Location
Enter your full business address accurately. Amazon uses this for:
- Tax purposes
- Verifying your account
- Determining your access to fulfillment services (like FBA)
👤 Enter Personal Information
Provide the following required details:
| Information Type | What You Need |
|---|---|
| Full legal name | First, middle, and last name |
| Home address | Complete street address |
| Phone number | A mobile number you can access |
| ID verification | Passport or driver’s license |
📞 Phone Verification
Amazon will send a verification code to your mobile phone via text or call. Enter the code when prompted to complete this step.
⚠️ Keep this number active — it’s Amazon’s main way to reach you about your seller account.
6. Set Up Your Payment and Tax Info
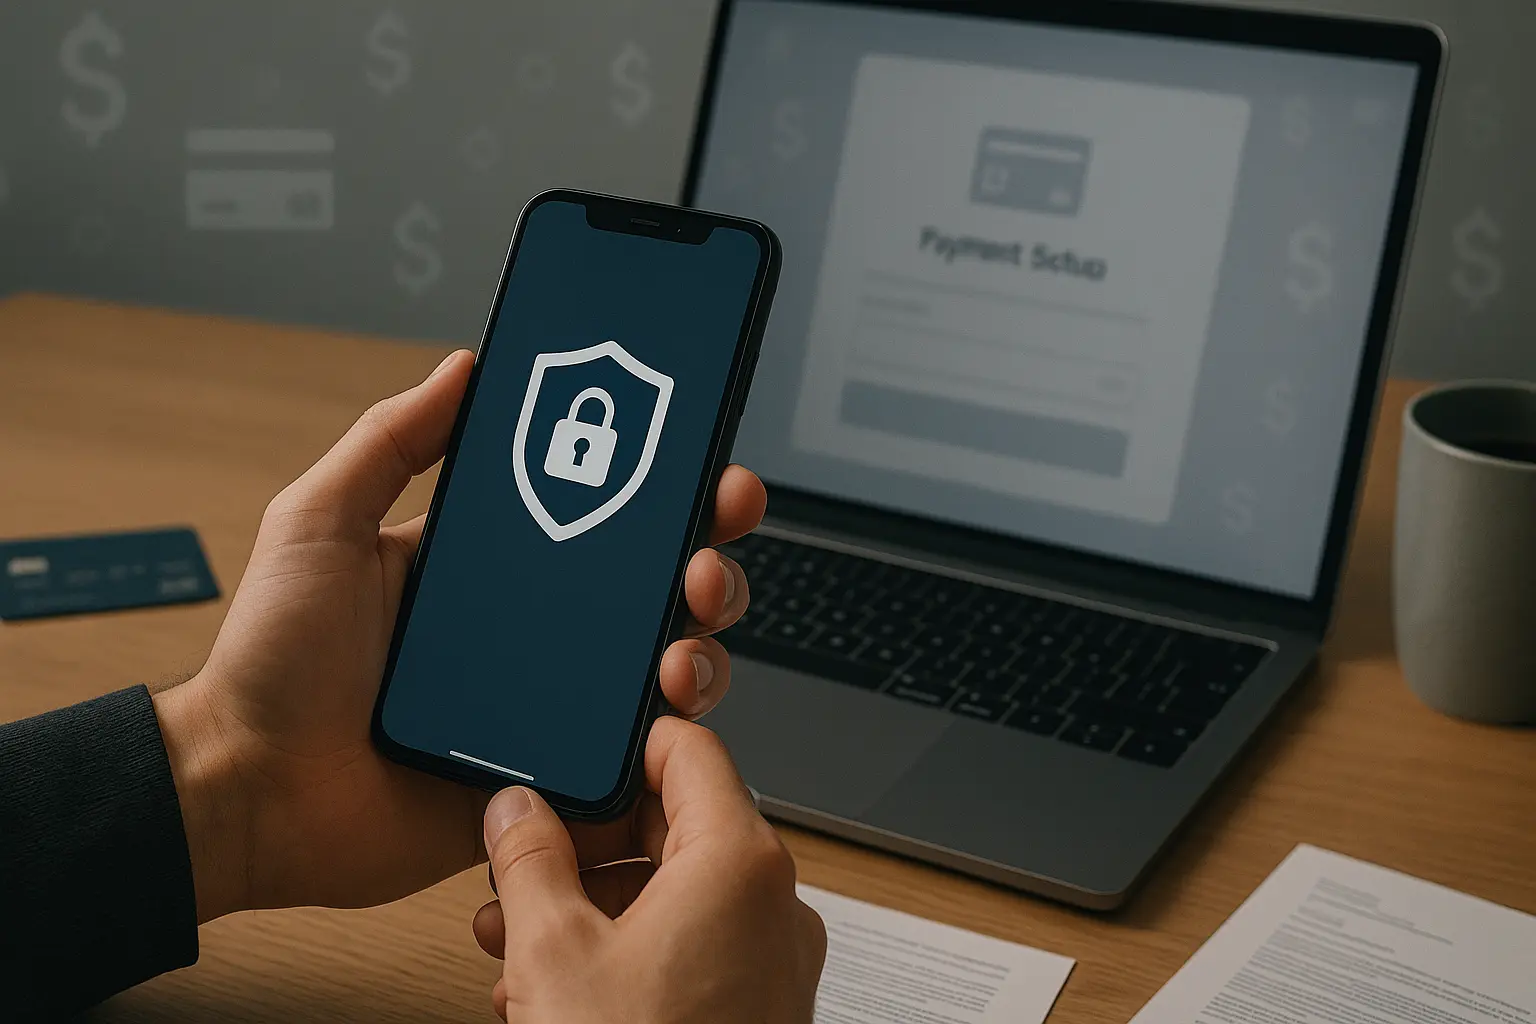
Before you can sell on Amazon, you’ll need to provide valid banking, credit card, and tax information. This step ensures you get paid and meet Amazon’s compliance requirements.
💰 Add Your Bank Account Details
Link a checking account where Amazon can deposit your earnings.
- Enter your bank account number and routing number
- Double-check for accuracy to avoid payout delays
💳 Provide a Valid Credit Card
Amazon uses your credit or debit card to cover:
- Monthly subscription fees (if using the Professional plan)
- Referral fees
- Advertising and other seller costs
Make sure your card is:
- Internationally chargeable
- In good standing
- Has enough available credit for business use
🧾 Complete the Tax Interview
Amazon requires tax details for IRS reporting. You'll complete a quick online tax interview during setup.
- Individual sellers: Enter your SSN
- Business sellers: Provide your EIN (Employer Identification Number)
This info helps Amazon generate accurate 1099 forms and ensure compliance.
✅ Payment & Tax Checklist
| Item | Individual Sellers | Business Sellers |
|---|---|---|
| Bank account | ✅ | ✅ |
| Credit card | ✅ | ✅ |
| Tax ID | SSN | EIN |
| Address type | Personal | Business |
📌 Amazon verifies these details before activating your seller account. Having everything ready helps speed up the approval.
7. Create Your Store Profile
Once your account basics are set, the next step is to build your Amazon store profile. This gives Amazon key info about your business and products so you can get approved faster and start selling.
🏷️ Choose a Store Name
Pick a name that reflects your brand or product focus.
- This name will show on your product listings and customer messages
- Don’t stress — you can change your store name later in Seller Central
🛒 Answer Product and Business Questions
Amazon will ask you a few setup questions to understand what you're selling and how you're sourcing products.
What are you selling?
Choose the product category that best fits your inventory. Some popular examples:
- Electronics
- Home & Kitchen
- Clothing & Accessories
- Sports & Outdoors
- Books & Media
You can sell in multiple categories later — just choose the one that fits most of your items for now.
Are you the brand owner or manufacturer?
Amazon uses this to determine what selling permissions you need:
- Yes – You make or own the brand
- No – You resell or distribute other brands
Brand owners may get access to Brand Registry, product protections, and more listing control.
✅ Final Tip
Complete all fields carefully. Your answers affect what you can sell and whether you’ll need extra documentation. Being honest and accurate helps avoid delays in approval.
8. Complete Identity Verification

Before you can start selling, Amazon needs to confirm who you are. This step helps protect buyers and keep the platform secure.
📄 Documents You’ll Need
To verify your identity, Amazon requires two key documents:
- Government-issued ID
- Acceptable: Driver’s license, passport, or state ID
- Must be clear, readable, and not expired
- Recent Bank Statement
- Must be from the last 90 days
- Should clearly show your name and address
Make sure the name on both documents matches the account holder.
📹 Possible Video Call Verification
Some sellers may be asked to join a 10–15 minute video call with an Amazon associate. During the call, you'll:
- Show your ID on camera
- Confirm personal and banking details
- Answer a few basic questions
This step is not always required but helps Amazon finalize identity verification.
⏱️ How Long Does It Take?
- Identity checks usually take up to 2 weeks
- Amazon will email you once the review is complete
Tip: Have your documents ready and clear before uploading — this can help avoid delays and move your approval along faster.
9. Submit Your Application
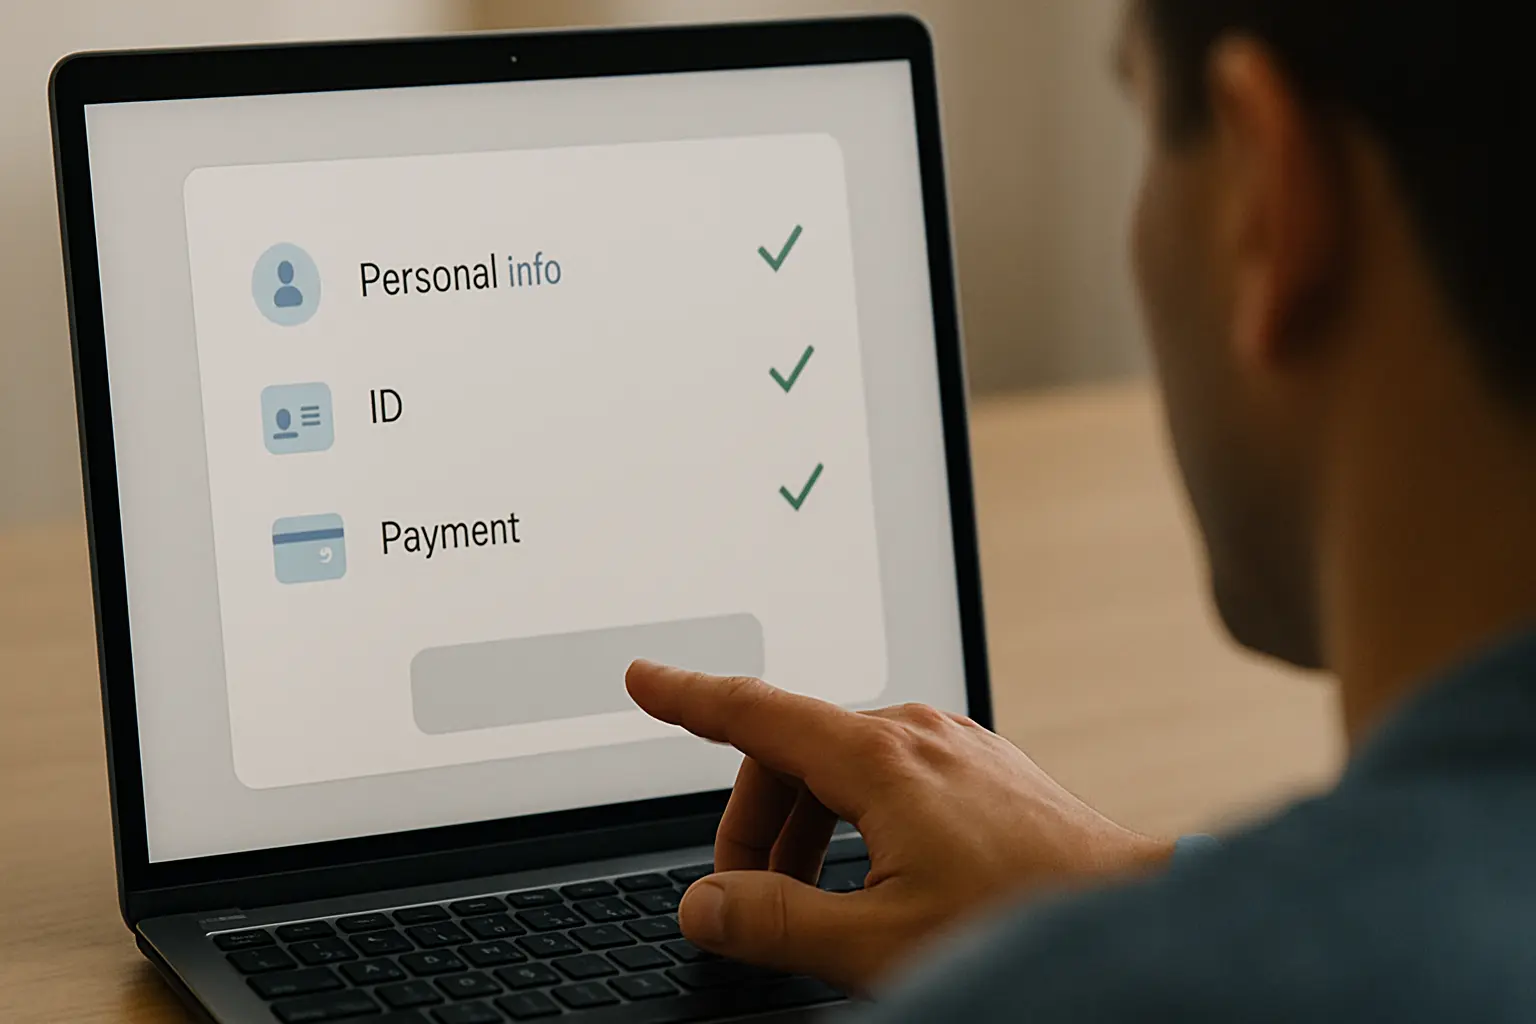
Once you've completed all steps, it’s time to review and submit your seller application. This is the final step before Amazon starts the approval process.
✅ Final Review Checklist
Before you click “Submit,” double-check these key details:
- Business Info: Make sure your business name, type, and address are correct
- Personal Info: Ensure your name matches your ID
- Banking Info: Confirm your bank account and credit card numbers
- Store Name: Choose a clear, unique name that fits your brand
- Contact Info: Verify your email and phone number—Amazon will use these to reach you
⚠️ Some fields cannot be easily changed after submission, so it’s important to review everything now.
🚀 What Happens After You Submit?
- Amazon starts reviewing your application right away
- You’ll usually hear back within 3 business days
- Watch your email inbox for updates or document requests
Avoid submitting multiple applications—this can slow down the approval process.
✅ Once Approved...
You’ll receive an email confirmation. After that, you can log into Seller Central to:
- List your first products
- Set up fulfillment options
- Start selling on Amazon
Final Thoughts: What to Remember During Registration?

To register as an Amazon seller, you just need the right documents, a plan that fits your goals, and a few careful steps. It’s easier than it seems when you follow the process one step at a time.
Here’s a quick recap:
- Make sure you have your ID, bank info, and tax details ready.
- Choose between the Individual or Professional plan based on how many items you’ll sell.
- Fill in your business info, verify your identity, and submit your application.
Once approved, you’ll access Amazon Seller Central and can start listing products. Most sellers can complete the process in a few days if everything is in order.
Tip: Always double-check your entries before hitting submit—this saves time and avoids delays.
Want the full picture of how Amazon selling works?
👉 Check out our complete guide about What You Need to Know About Selling on Amazon — from account setup to fulfillment, fees, and product strategy.
Frequently Asked Questions
1. How do I register as an Amazon seller?
To register, go to sell.amazon.com, choose a selling plan, create an account, enter your business info, upload verification documents, and submit your application.
2. What documents do I need to sell on Amazon?
You’ll need a government-issued ID, a recent bank statement, a valid credit card, and either a Social Security Number (SSN) or Employer Identification Number (EIN), depending on your seller type.
3. What’s the difference between an Individual and Professional Amazon account?
An Individual account has no monthly fee but charges $0.99 per sale—ideal for under 40 items/month. A Professional account costs $39.99/month and unlocks extra tools and selling categories.
4. Do I need a business license to sell on Amazon?
No, you can start as an individual seller without a formal business. You can upgrade to a business account later as your sales grow.
5. How long does it take to get approved as an Amazon seller?
Most accounts are approved within 3 business days after submitting all required information. Some cases may take up to 2 weeks if extra verification is needed.
6. Can I use my personal Amazon account to sell products?
Yes, but it’s recommended to create a separate seller account to keep business and personal purchases organized.
7. Is it free to create an Amazon seller account?
Creating an Individual seller account is free, but you’ll pay $0.99 per item sold. The Professional plan costs $39.99/month regardless of sales volume.
8. Can I switch from an Individual to a Professional account later?
Yes, you can upgrade your account anytime through Seller Central. Many sellers start with Individual and switch as they grow.
9. Why does Amazon ask for a video call during verification?
Amazon may require a short video call to confirm your identity and verify your documents. It’s a security step to reduce fraud.
10. What happens after I submit my Amazon seller application?
Amazon reviews your info, verifies your identity, and sends approval via email. Once approved, you’ll gain access to Seller Central to begin listing products.
Ready to Launch Your Amazon Store with Confidence?
Join our step-by-step mini-course at WAH Academy and learn how to set up and grow your Amazon business—from account setup to shipping your first sale.
Clear lessons. Real strategies. No fluff.
Click the button below to start building your Amazon business the smart way.